 Pro Ski USA
 Pro Ski Canada

 English
 Deutsch
 Slovenščina
On this page
- A carved turn is a lateral movement: the body travels across the skis, not up and down.
- At the apex of a turn the outside ski carries most of the load.
- The seven movements: stance, lateral balance, edging, angulation, pressure, separation, timing.
- All seven can be trained on a simulator; speed, terrain and snow feel can’t.
Why the turn is a sideways movement
Watch a good skier from below and the picture is surprisingly simple: the upper body travels down the fall line almost in a straight line, calm and facing downhill, while the legs swing out from under it to one side, then the other. The skis carve two arcs; the body carves one straight path between them. Everything that happens in a turn serves that relationship — keeping the centre of mass moving smoothly while the skis go out to the side and come back.
That is why biomechanists describe skiing as a predominantly lateral sport, and why a machine that moves sideways against resistance trains it so specifically. The seven movements below are the building blocks. Ski schools name and group them differently, but the physics underneath is the same.
1 · Athletic stance
On snow: ankles, knees and hips flexed together, shins pressing lightly into the boot tongues, hands forward and visible. The weight sits over the whole foot, not the heels. A good stance is the “ready” position that lets every other movement happen — sitting back or standing tall shuts most of them down.
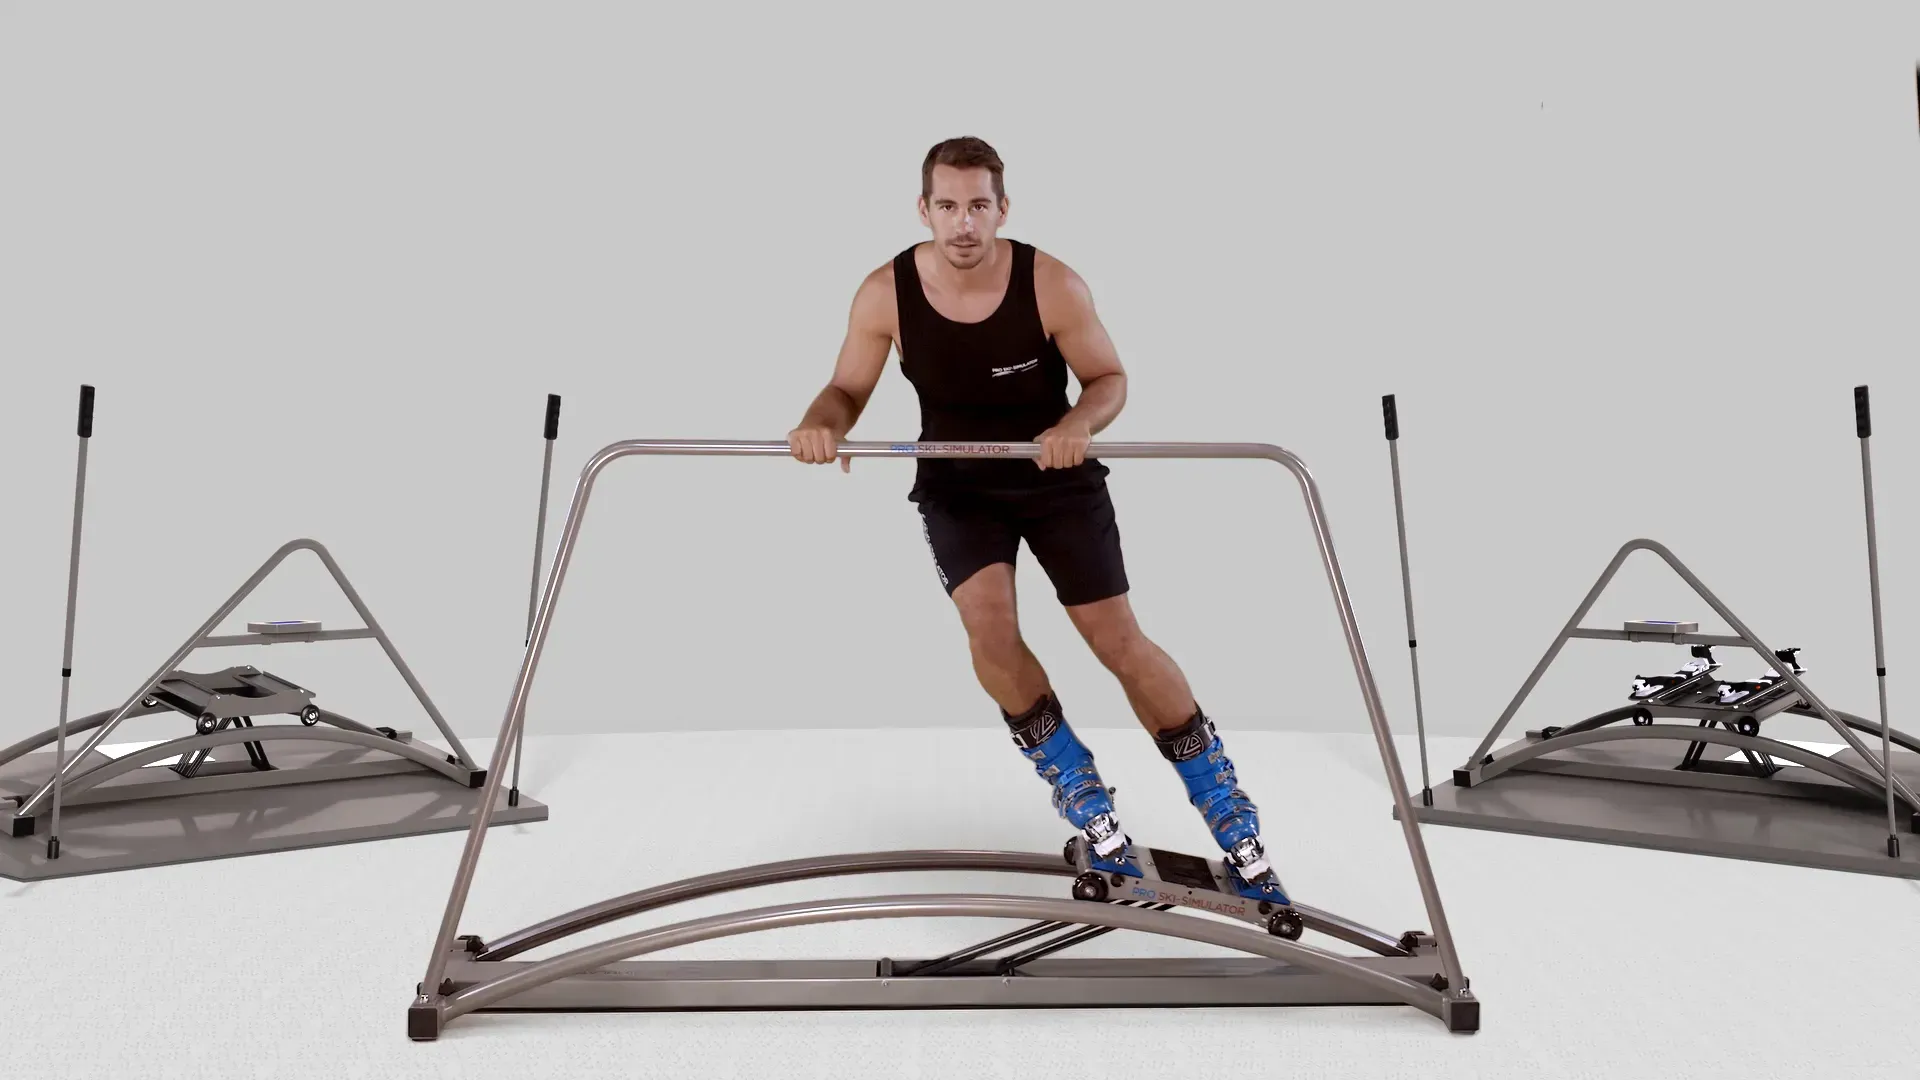
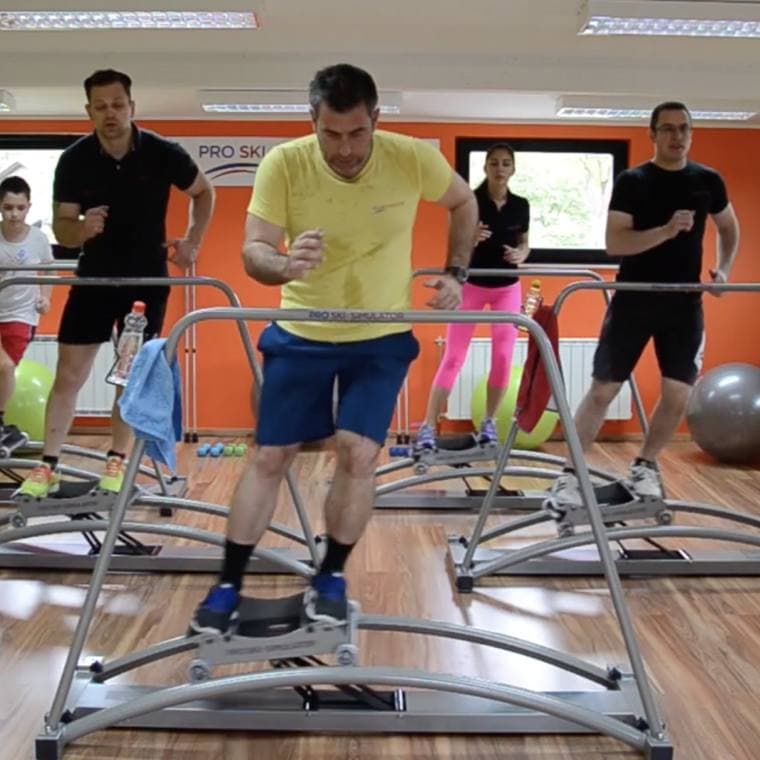
On the machine: start every set from this position. Feet hip-width, joints soft, hands resting on the holder rather than gripping it. If you find yourself hanging on the holder, reduce the resistance.
2 · Lateral balance and weight transfer
On snow: as a turn builds, weight moves progressively to the outside ski — the one on the outside of the arc. The outside ski is the stable platform; balancing on it is what lets you trust the edge. At the transition, the weight moves across to the new outside ski.
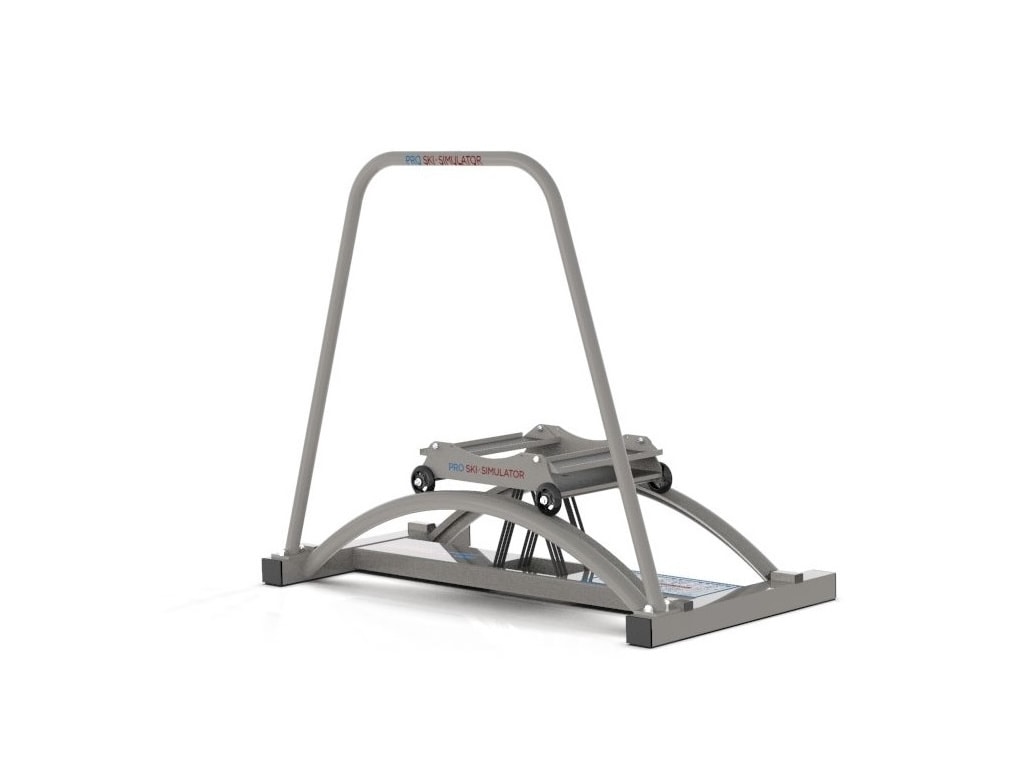
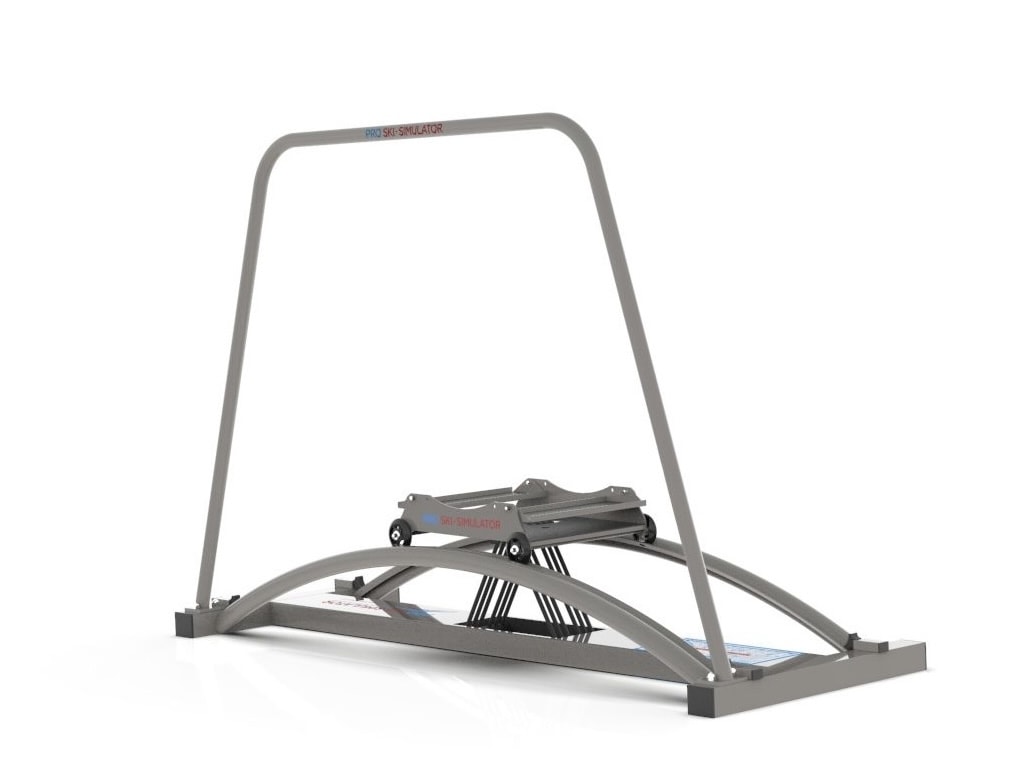
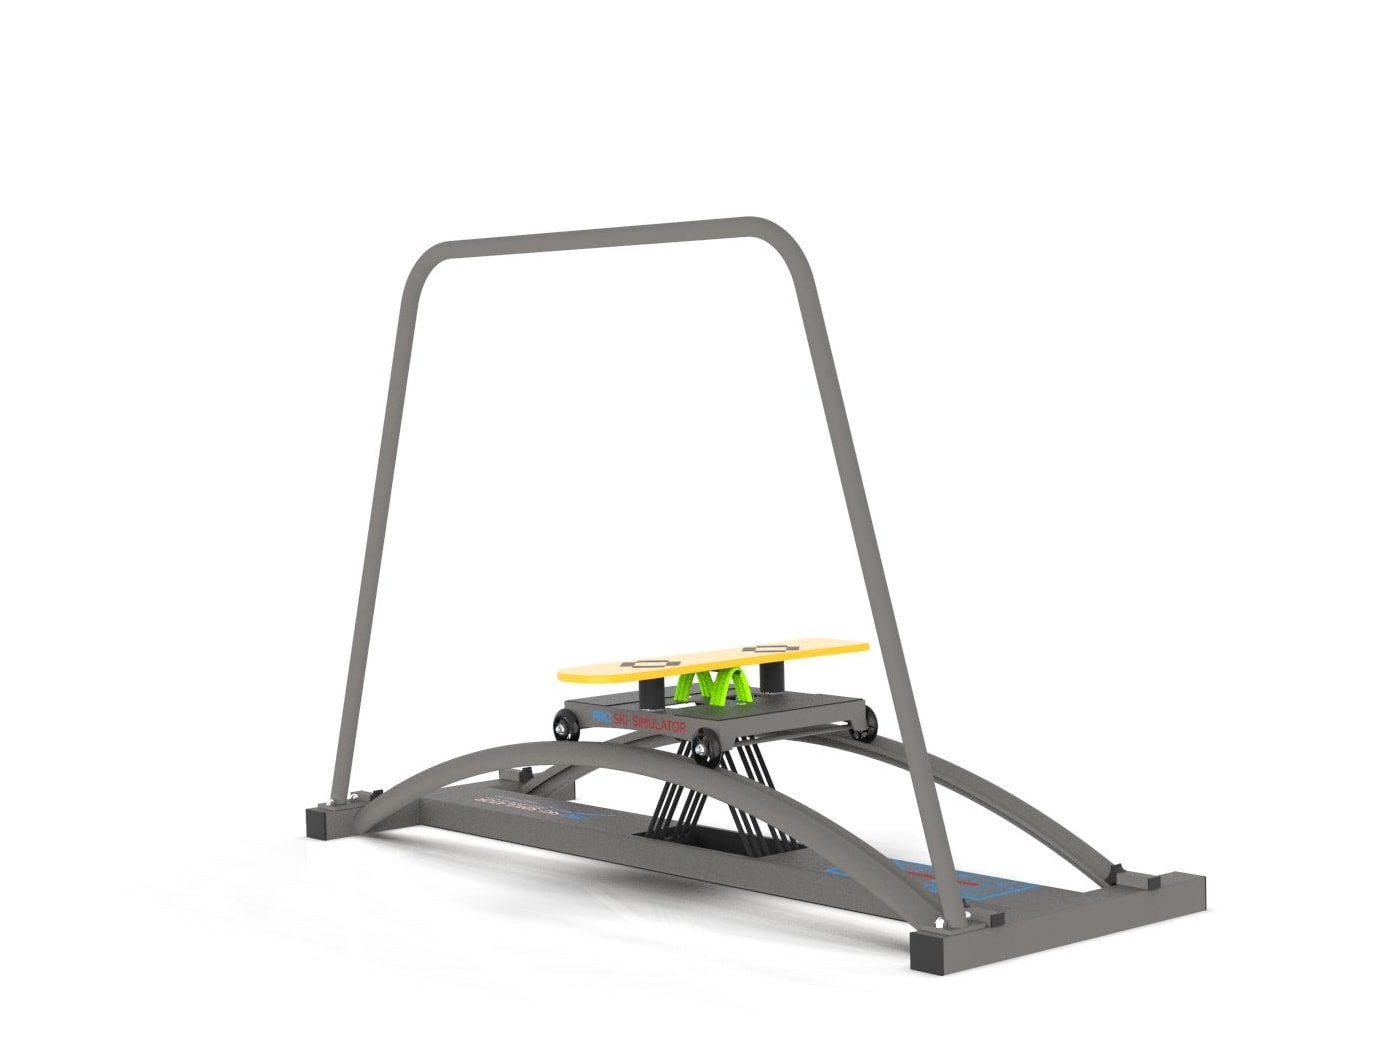
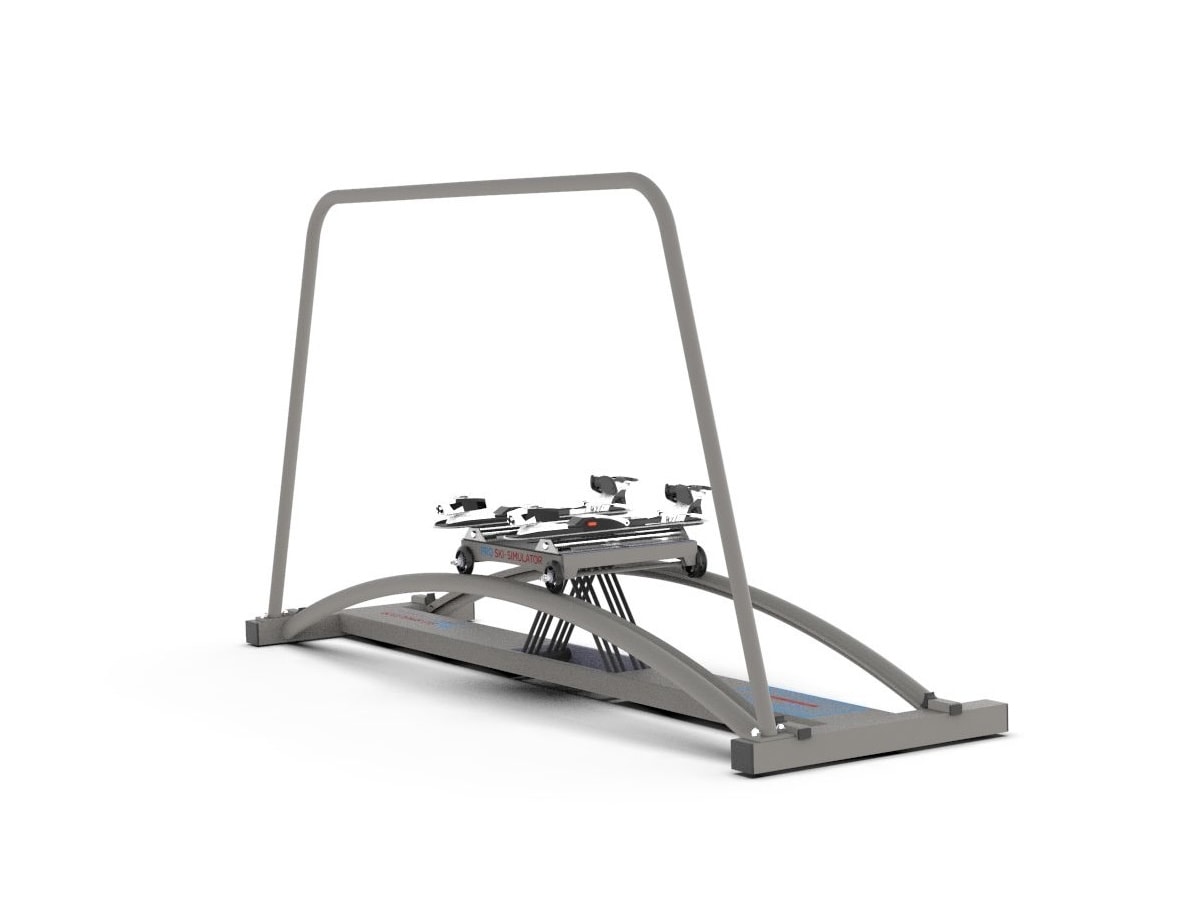
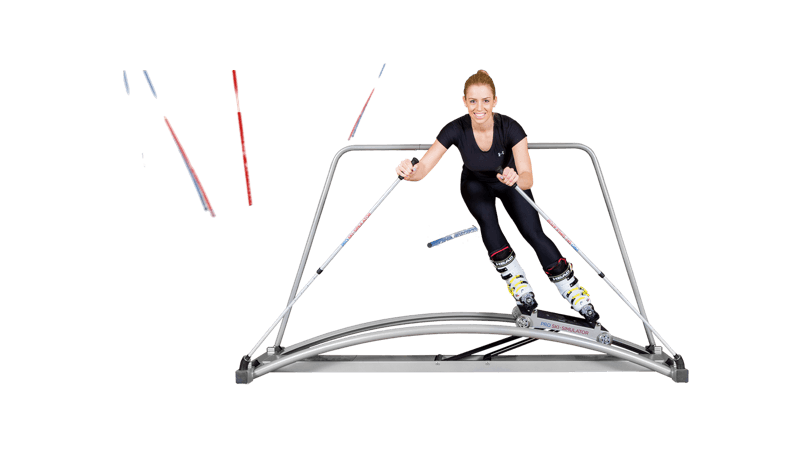
On the machine: this is the movement the machine is built around. Drive the cart out by extending the outside leg and feel the load move onto it as the ropes stretch. Then let it travel back and transfer to the other side. Aim for the same travel and the same rhythm on both sides; most people have a “good side” at first.
3 · Edging
On snow: a carving ski only grips when it is tipped onto its edge. Edging starts at the bottom — ankles and knees roll the skis over — and the edge angle grows as the body moves inside the turn. Leaning the whole body in like a motorbike (inclination) creates edge angle too, but on its own it leaves you balanced on the wrong ski.
On the machine: the platform tilts as the cart reaches the end of its travel. Tip it with your ankles and knees first, not by throwing the upper body sideways. Think “knees and hips go in, shoulders stay level”.
4 · Angulation
On snow: angulation is the sideways bend at the knees and hips that lets the legs tip further while the upper body stays balanced over the outside ski. It’s what gives a strong skier the classic “comma” shape at the apex of a turn, and it’s what holds the edge when forces peak.
On the machine: at the outer end of each push, hold the comma for a moment — hips inside, outside hand low, shoulders roughly level with the floor. Slow angulation holds against heavy resistance are one of the most effective strength drills for racers.
5 · Pressure control
On snow: the force on the skis isn’t constant. It builds through the turn and peaks around the apex; good skiers manage it by flexing and extending — extending to build pressure into the new turn, flexing to absorb it at the end, so the skis stay in contact with the snow and the transition stays smooth.
On the machine: the elastic ropes make resistance grow with travel, so pressure builds naturally as you push out. Practise extending smoothly into the push and absorbing on the way back instead of locking your legs. If the cart slams into the end of its travel, you are pushing rather than controlling.
6 · Upper- and lower-body separation
On snow: the legs turn beneath a quiet upper body that keeps facing down the fall line. This separation stores tension through the trunk that helps release the turn, and it keeps the body ready for the next one. A pole plant timed with the transition anchors it.
On the machine: keep your chest facing the hand holder while your legs travel from side to side. With poles, practise a light, rhythmic pole touch at each edge change. Watching yourself in a mirror or on your phone camera helps: the belly button should point forward, not follow the cart.
7 · Rhythm and timing
On snow: the edge change — the moment the skis flatten and roll onto the new edges — is where most turns are won or lost. Good skiers link turns in a steady rhythm, with the body crossing over (or the legs crossing under) the skis smoothly, without a pause or a hop.
On the machine: use a metronome, music or the Pro Ski App to hold a steady tempo. Change the rhythm deliberately: long, round turns at a slow tempo, then short, quick ones. Racers use gate-rhythm intervals — a fixed number of fast turns, then rest.
Putting it together: a 20-minute technique session
- 5 min — easy turns, few ropes, focusing only on stance.
- 4 × 1 min — slow, full-travel turns with a one-second angulation hold at each end.
- 4 × 30 s — quick, short turns with the chest facing forward; 30 s rest between.
- 3 min — free skiing at a steady rhythm; film one set and check your separation.
- 3 min — easy turns and stretching.
What a simulator can’t teach
A machine can’t show you how to read terrain, handle speed, ski ice or powder, or manage the fore–aft balance a steep pitch demands. It builds the movement pattern and the strength behind it, so your time on snow goes further. Take lessons; use the simulator to arrive ready for them and to keep what you learned between trips.